ChatGPT walkthrough
Install the Paperzilla plugin
The Paperzilla listing in OpenAI’s public plugin directory is awaiting review. If you don’t have access to the listing yet, use the Codex marketplace or connect Paperzilla manually in ChatGPT if your account supports custom connectors.
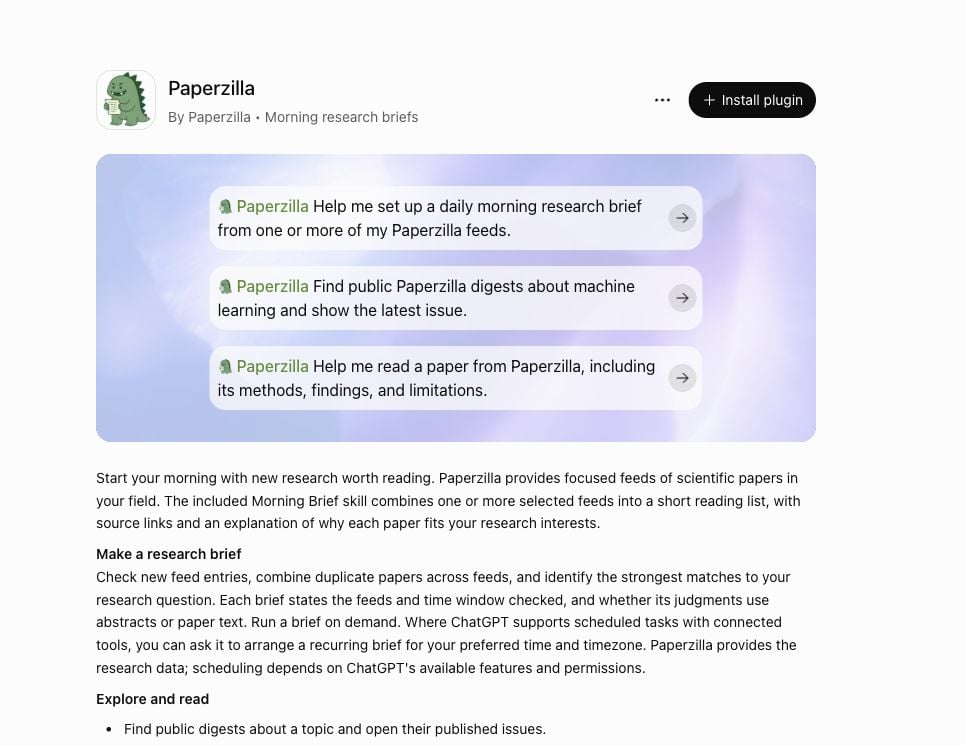
Select Install plugin on the Paperzilla listing.
Sign in and review access
When ChatGPT asks you to connect Paperzilla, select Connect Paperzilla. If you dismissed the prompt, reopen Paperzilla under Settings → Plugins to connect.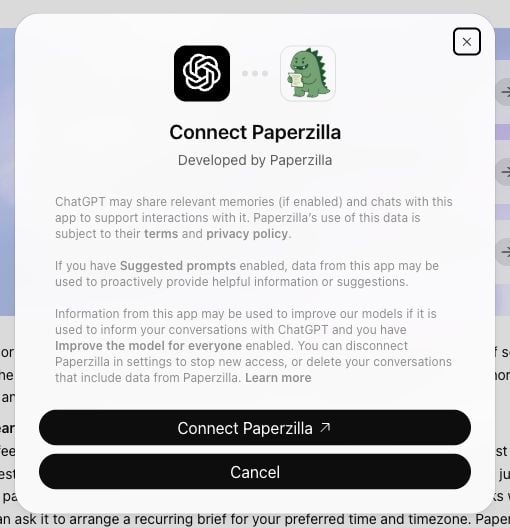
Select Connect Paperzilla to continue.
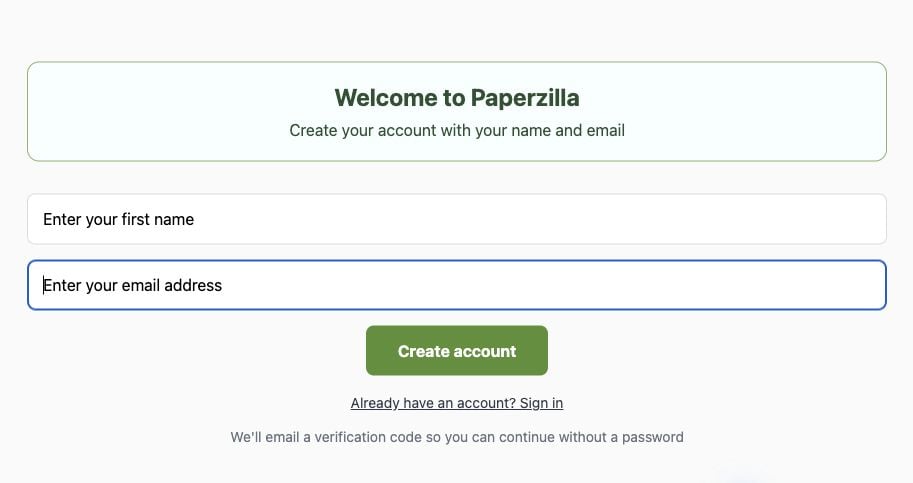
Create a Paperzilla account if you’re new.

Enter the code from your Paperzilla email.
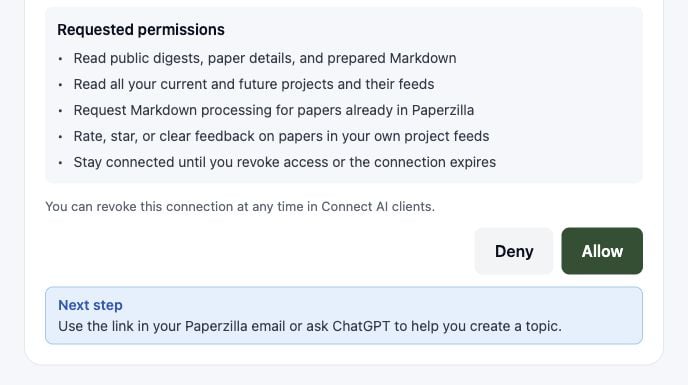
The consent screen shows your next step below Allow.
Open Paperzilla in a chat
After you select Allow, ChatGPT shows Paperzilla is ready for use. Select Set up Paperzilla.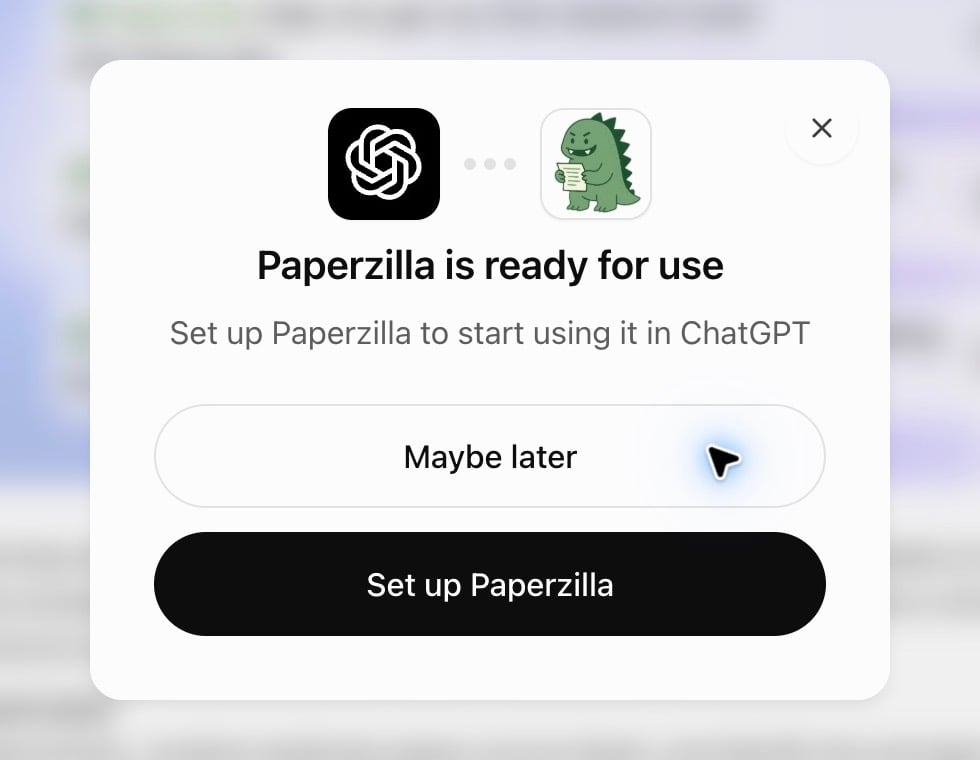
Select Set up Paperzilla to open the setup chat.
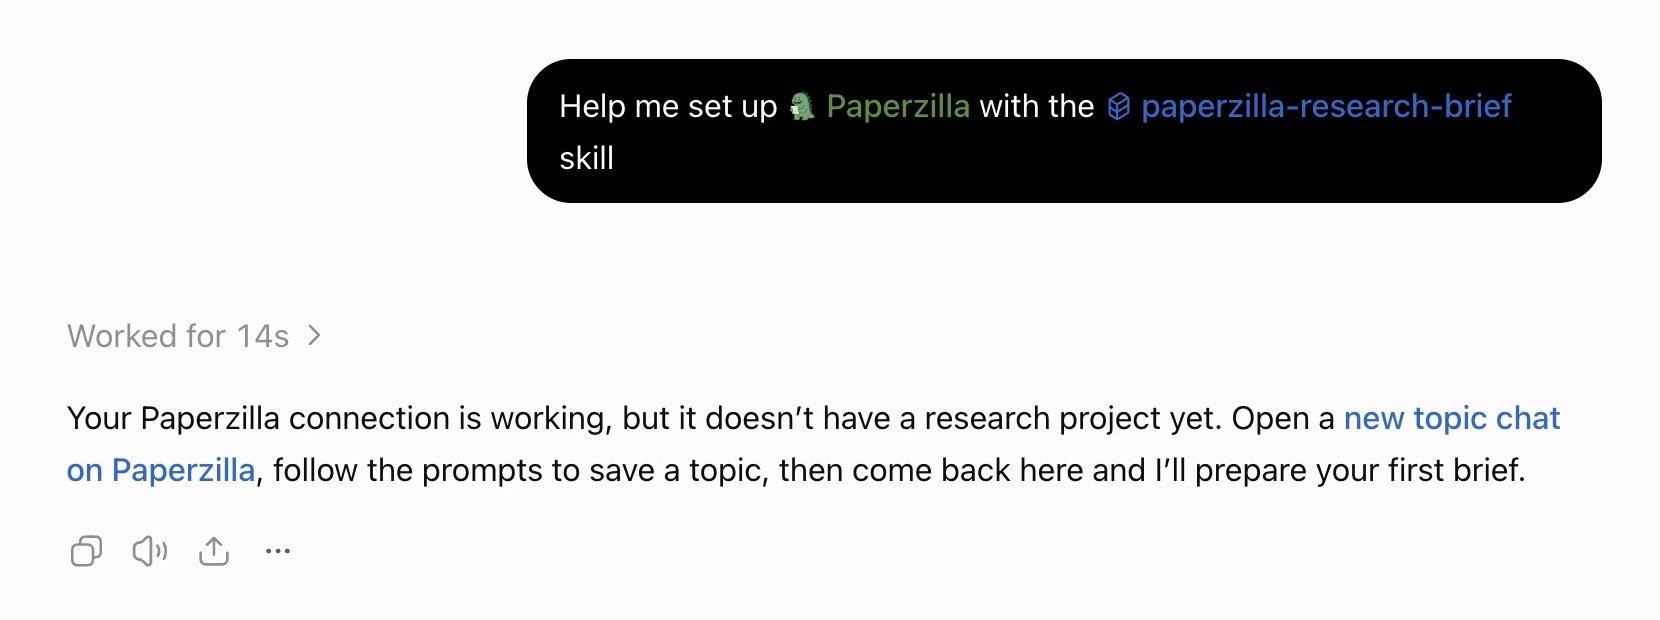
ChatGPT checks your account and links to topic setup if you need a project.
Choose or create a research topic
Use an existing project
Ask “Use Paperzilla to list my projects.” Choose the project you want to use. You can also find its name in your Paperzilla dashboard. Then ask for your first brief.Create a research topic
- Use the setup link your agent gives you. In ChatGPT, you can also open the Paperzilla setup chat or use Create my research topic in your connection email. Use the same Paperzilla account you connected.
- Describe the research you want to follow and review the suggested categories and keywords. Select Create project when you’re happy with the topic.
- Return to the same chat after Paperzilla saves your project. You can ask for the first brief there while your preview is being prepared.
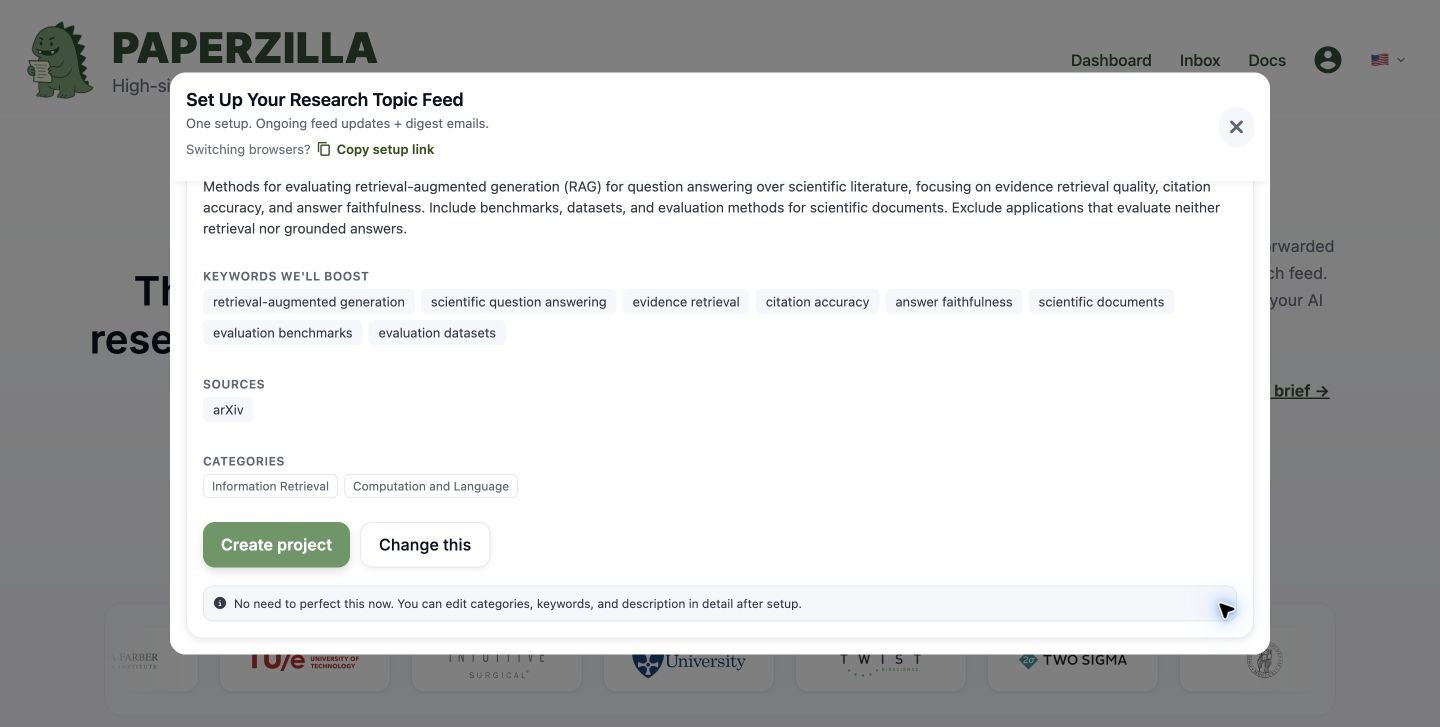
Review the suggested topic and select Create project.
Ask for your first brief
Replace [project name] with the name of your project and send this message.Use Paperzilla to give me my first research brief for my [project name] project. Pick up to five papers from my feed, link to each one, and explain why it matters for my topic.If Paperzilla is still preparing your first papers, ChatGPT or Codex can check the preview’s progress. It can take 30 minutes or longer. Paperzilla emails you when the preview is ready. Return to the same chat and ask for the brief again. What to expect from your preview
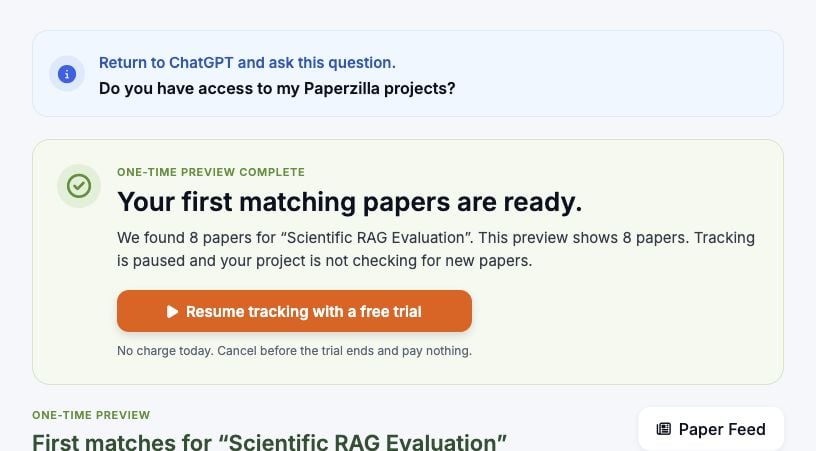
The banner suggests a question to check that ChatGPT can see your projects.
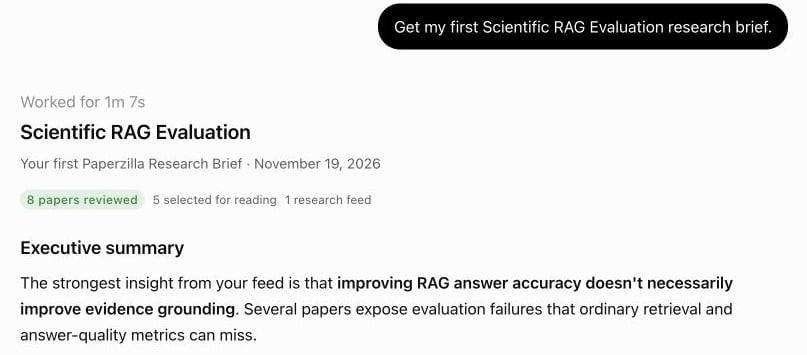
A first research brief in ChatGPT based on the project’s preview papers.
Use Paperzilla in Codex
If your Codex task offers Sources → Use plugins, select Paperzilla there and connect your Paperzilla account when prompted. You can also install the plugin from the Paperzilla marketplace and connect your account. For manual setup, add the MCP server in Codex. Once connected, choose or create a research topic and ask for your first brief. For a brief you can share with your team, see Use Codex and Microsoft Teams for research briefs.If your agent cannot see your projects
- Check that Paperzilla is selected in the chat or task.
- Confirm that the connection uses the Paperzilla account that owns the project. If the connection expired or uses a different account, reconnect from the plugin and try again.